Friday, October 18, 2013

Radiator Hoses (October 9 - 10, 2013)


Uppers - Gates 22345, Dayco 71858 (90 degree portion)
Lower - Gates 20294 

Steam Line - Gates 28407 (sold by the foot)
Clamps - Gates "PowerGrip"

Before you go and buy any of these hoses keep in mind my combination, which is the Entropy radiator and the Stewart water pump (that comes with the Vintage Air Front Runner).

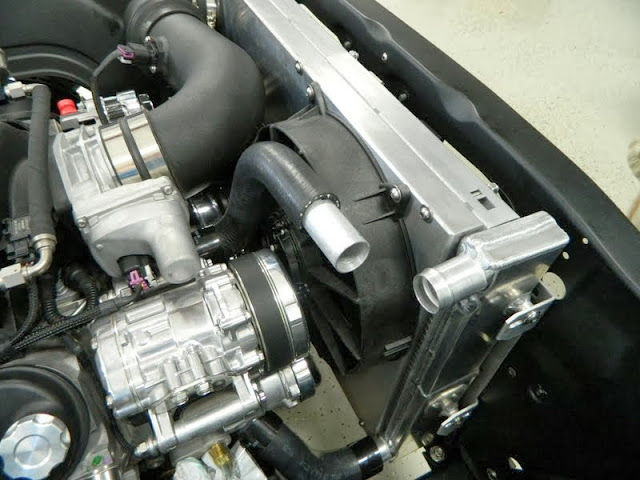
This is the lower. It only required minor trimming.


I used wire templates, which I took to the auto parts store.


The upper is made up of two hoses joined together using an aluminum tube.


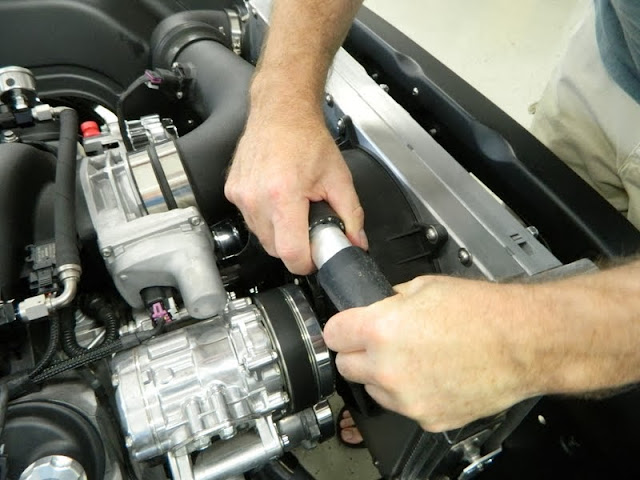
Test fit


Applying the clamps.


Steam line at the driver's side head.


At the radiator. The Entropy radiator comes with a 1/4" FPT bung for this connection.


Tuesday, October 15, 2013

Bleed Brakes & Clutch (October 8, 2013)


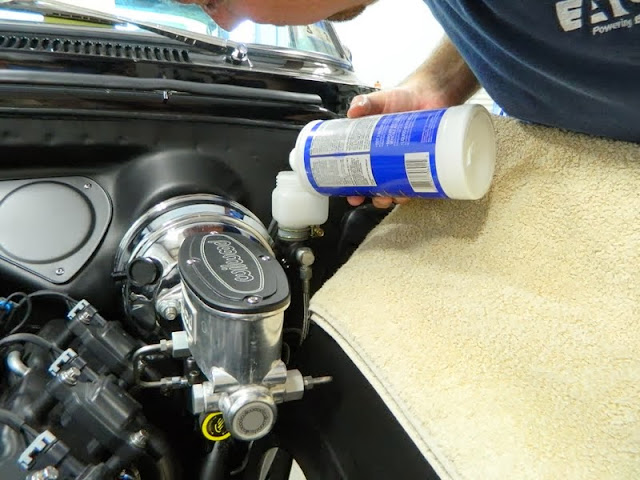
I bought this Phoenix Bleeding set up a while back and have been itching to try it out. The results were nothing short of phenomenal!!!  Starting with a totally dry system, including the master cylinder (no bench bleeding), in about 10 minutes I was done, by myself. No pedal pumping work out. Worth every penny!


I was planning on using the same process on the clutch....but access to the bleeder was non-existent. Whenever the trans has a reason to come out, I will add an extension line to the bleeder side of the slave cylinder. Fortunately the slave comes filled with fluid and pre-bled. I was able to tickle the pedal slowly and work the air from the line going down to the slave.


Friday, October 11, 2013

Final Assembly - Brake Booster, Master Cylinder & Rear Bumper (October 6 - 7, 2013)


A few shots of the brake and clutch master cylinders.   


I made the spacer for the clutch master from a chunk of Delrin, a great material to work with. The spacer is angled to position the clutch master perpendicular to the ground. The firewall tilts back at the top.


Mounted the rear bumper. A few shims and everything lined up nicely.


I converted the license plate lamp to an LED with a small 4 LED array that I found online. I used a 2 pole weatherpack connector.


Electrical Check (October 5, 2013)


Just a quick electrical check. First time to put any power on the system. This is just to check the basics and make sure that everywhere that should have power does......and anywhere that shouldn't have power does not !!  LOL

I started by connecting the battery. At this point all fuses except for the main fuse have been removed. I like to initially power up the various circuits individually. Makes it easier in the event that troubleshooting is needed.


My wife says this shot looks like something from the Cars movie! Ha ha!!


Not too sure about the tail light look. These are LED bulbs but I don't care for how you see each bulb. I am planning on contacting Digi-tails to see if they will make me some LED arrays.


All circuits accounted for. One step closer to ignition!


Power to the Phantom Ignition button. Did a quick successful crank (no ignition/FI power).


A few more details and we will be ready to bring it to life!

Tuesday, October 8, 2013

Wiring - Fan Controller (October 1 - 2, 2013)


This is the wiring for the DCC PWM fan controller.

This is the leads from the controller to the fans.


Connects to the terminals on the controller. Then routes down the core support to the fan connectors.


I am not a big fan of convoluted tubing but I wanted a bit of extra protection here since it will be exposed to road spray, rocks, etc.


Final Assembly - Parking Brake Cables & Shifter (September 29, 2013)


Here are a few pics of the parking brake cable hook up.

Parking brake handle mech from the bottom side.


Adjuster mounted to the handle mech.


Cables routed through the adjuster assembly.


Trimmed the cables with a cut off wheel.


Applied a short piece of adhesive heat shrink to keep the ends from fraying.


Cable connected to the rear caliper.


The springs are trimmed to fit.


Handle wrapped to protect it for now.


Filling the T56 with Mobil1 ATF per the Hurst Driveline instructions (required to maintain the warranty. I am a believer in synthetic fluids from way back).


The Blackjack offset shifter, keeps the handle in the original location.