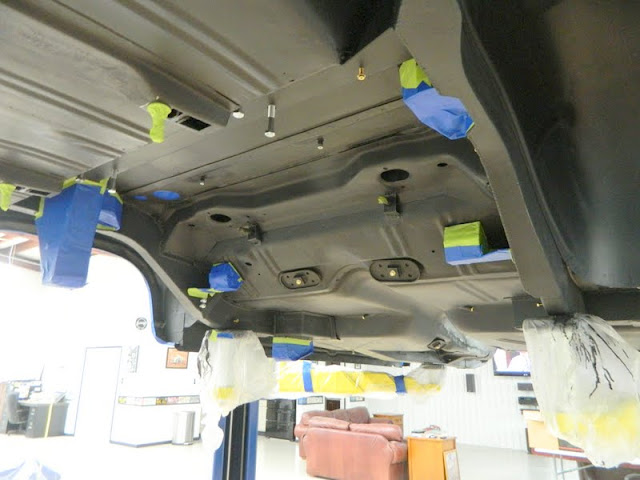
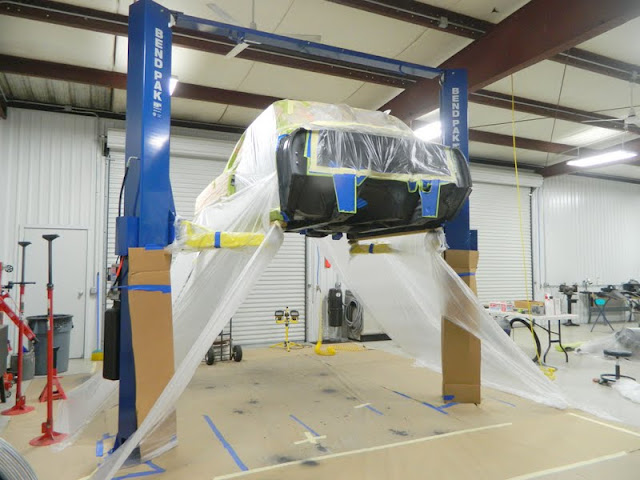
Using bedliner material for undercoating is a polarized subject. Seems like most either love it or hate it. I, on the other hand understand both viewpoints and have done it both ways. My conclusion is that it just depends on what the usage of the car will be. In this case, this car is being built to be driven, a lot, rain or shine. If you have worked on many vintage cars you know that they are not precision made. Manufacturing tolerances of 1967 vs. today are huge! This means larger gaps, mis-matched joints, etc. are within the manufacturing tolerances of the day. They addressed this with lots of brush on seam sealer and these old cars still leaked when new. I know, I was driving then! This is a great sealer and protector. If this was a "restoration" or a sunny day only ride, I would definitely go with paint only. I like the look. Ok, enough of my justification :o).
Prepping by making sure everywhere is clean and scuffed properly.
Masking
These are my "spray curtains". If you have ever used this stuff you know it is easy to sprinkle the stuff where you don't want it!
I applied 2 medium coats. Started in the wheel wells. This is a SEM black bedliner kit. I added the optional additive for warmer climates. It wasn't all that hot but it does slow the cure and allows it to flow out better.
It looks pretty shiny here when not fully cured. After 24 hours it looks like semi-gloss paint. The texture also smooths out a bit as it cures.


No comments:
Post a Comment