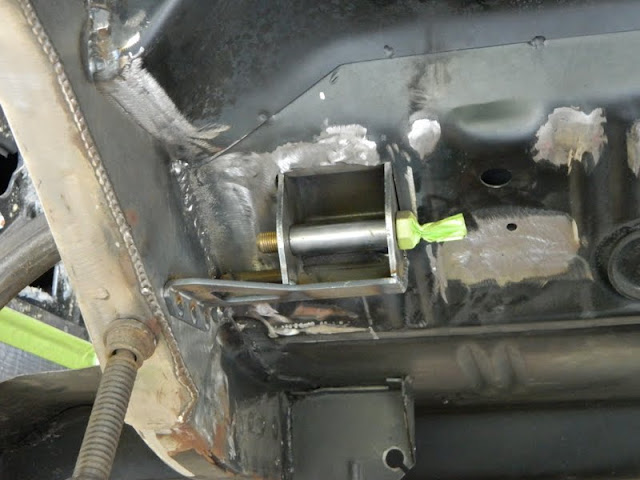
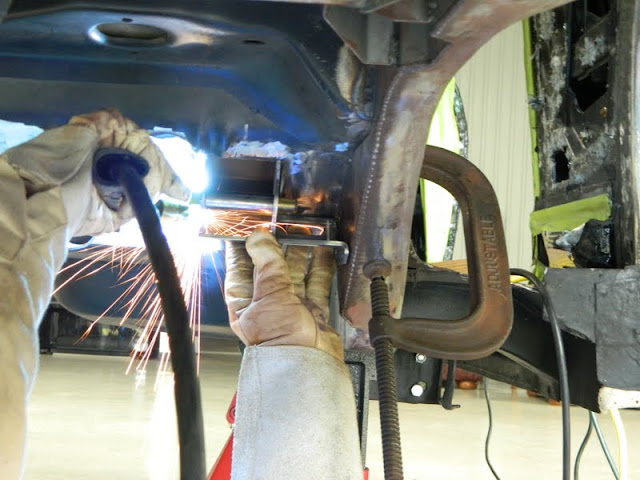
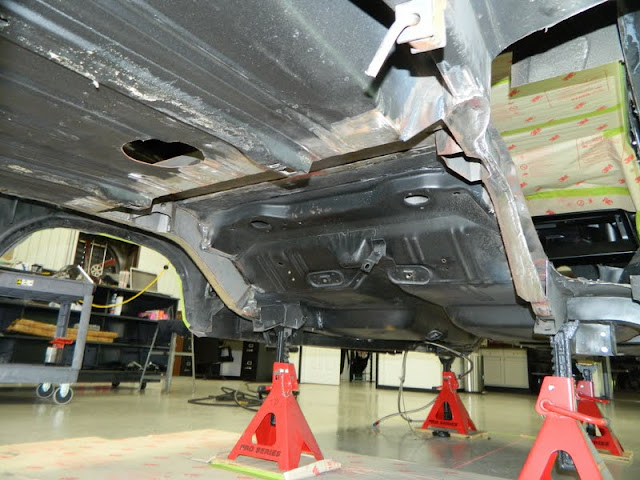
Today I installed the front link crossmember.
First step was to remove the jounce bumper mount.
Using the supplied template, I marked the location of the holes for the end link mounts to stick through the floor.
Same thing on left side.
Test fitting and marking for clearance.
Trimming the mount for seat belt bolt clearance.
Drilling for plug welds.
Ready to weld.
Welded in place.
Welding in the front link mount reinforcement brackets.
Front link crossmember installed.
Today I finished up grinding the rest of the welds on the left side frame rails and the sway bar mount.
Today I started grinding down my welds. I started on the right side frame rail.
Today I welded in some filler pieces on the frame closeouts. Some small sections at the ends of the frame rail closeouts needed to be filled.
Today I moved on to the right side frame rail closeout piece.
While I welded, my wife worked on getting some more Dynamat pulled up. One side of the floor is done!
Today I welded on the outer frame rail closeout piece on the left side of the car.
Today I prepped the frame rails for the outer frame rail closeouts.
First step was to stitch weld the bottom of the new inner frame rail to the bottom of the factory frame rail.
Grinding the welds smooth.
Ground smooth and ready for final fitting of the closeouts.
Applied weld through primer to inside of frame rail.
Removal of transport tie-downs.
Final fitting of closeouts.


