A journey through the process of turning an ordinary classic car into a modern, pro-touring machine - all of today's amenities and Vette-like handling.
Saturday, June 29, 2013
Final Assembly - Front End, Rear End & Wheels (April 6, 2013)
This is a "Fun Day!" Finally installing parts for the last time!
This is our pile of the major components - engine, trans, rear end, front end and the exhaust system. Today we will be getting her back to "roller" status.
Side note/tip: Notice the furniture dollies. Got these at Lowes for about $20 each. They are rated for 900 lbs !!!!! Since they are wood, it is easy to add blocks etc. with drywall screws for supporting different stuff (engines, rear ends etc). Very handy for storing big heavy items since you can move them around easily.
Here is the front end going on. I used a nylon strap and the engine hoist to get it into position.
During mock up I discovered some of the holes in the frame rails on the car had been drilled out larger due to alignment issues with the previous subframe. I drilled all of them out to accept 1/2" hardware. Here I am using grade 8 socket head cap screws (read that allen head bolts).
Installing the down tubes. DSE offers a shim kit for the firewall which I bought. Didn't need to use any! They took them back with no question (and I bought them 9 months earlier!).
Here you can see the head of the Polishing Dept. working on the SS hardware for the down tubes.
#2 Tip: McMaster-Carr is a great place to shop for stainless hardware! (and TONS of other cool stuff)
Polished bolts
Front Clip install complete.
On to the Rear End. First in is the sway bar, much easier to install before everything else is in the way!
Next up, upper and lower links.
Now just a matter of lowering the body down to the rear end.
Lower links on.
Now the uppers.
And the Panhard bar.
Coil overs installed.
Torquing the sway bar mount bolts. All of the link hardware will get torqued once the car is on the ground with everything else installed, which will be a while....
Slipping on the shoes!
On the ground!
What a glorious site! Time for a cold adult beverage!!
Wednesday, June 26, 2013
Unmask Car (April 4, 2013)
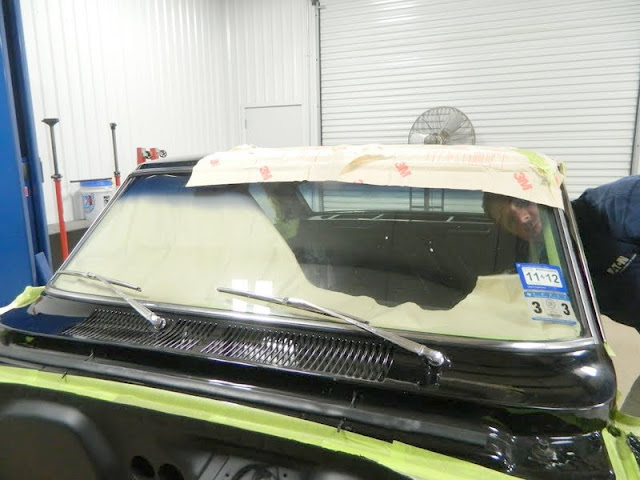
SWEET! Finally get to unwrap the body! It has been covered up for 11 months. If it wasn't for pictures I would have forgotten what it looked like! I have received a few questions regarding the masking tape. I had a similar amount of "mask time" on another project. I found that it you are patient and careful you can safely remove the tape without damage. I use a heat gun to soften the adhesive as I pull the tape. Keep in mind if you have somewhere that the paint was not properly applied it will probably come up. And that would happen no matter how long or short of a time the tape was in place.
Unmasking the suspension mounts.
A little heat for the tape.
Here you can see how nicely the bedliner spray laid down and how the gloss (or lack of) looks.
Ok, time to build a car!!!
Subscribe to:
Posts (Atom)


