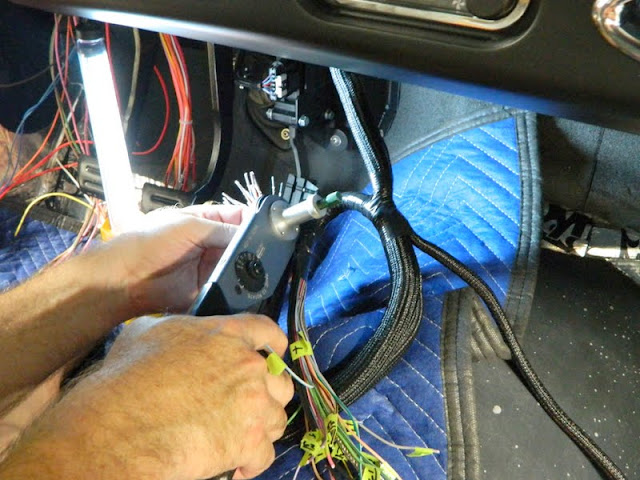
This is the cabin side of the bulkhead connectors.
Same process as the engine side except for female pins.
This is the harness with all of the pins crimped in place, ready to go into the receptacle.
During mock up I welded some studs at the top of the inside of the firewall for wire supports. This brace spans 2 of these studs and will mount an adele clamp to support the harness near the receptacles.
Installing the pins.
Driver's side complete.
On to the passenger side.
All pins installed.
This area is directly behind the HVAC unit.
This will cover the crimping of the pins and their installation into the plugs.
These are the engine side leads. You can also see the 4 point crimp tool. The tool was rented from Wirecare.com at a cost of $25 per week. A bargain considering it is a $250 tool! They even include a return shipping label. This is the same vendor we bought the connectors from. Great guys to work with.
The tool makes a 4 point crimp.
You set the depth with the green set screw. You only need to change when going from one kind of pin to another.
Finished crimp. Factory perfect quality every time.
Using adhesive heat shrink to couple the lower harness and the upper harness into one run to the plug.
First pin into the driver's side plug. They are numbered, if you look close you can see the numbers on the seal. This is the 35 pin plug.
All 35 wires installed (it would have been easier to remove the wire tags as I went along...lesson learned!).
You can also see the boot down on the harness.
This is the passenger side. I had it out so I installed the pins on the bench.
This is the 90 degree Raychem heat shrink boot.


