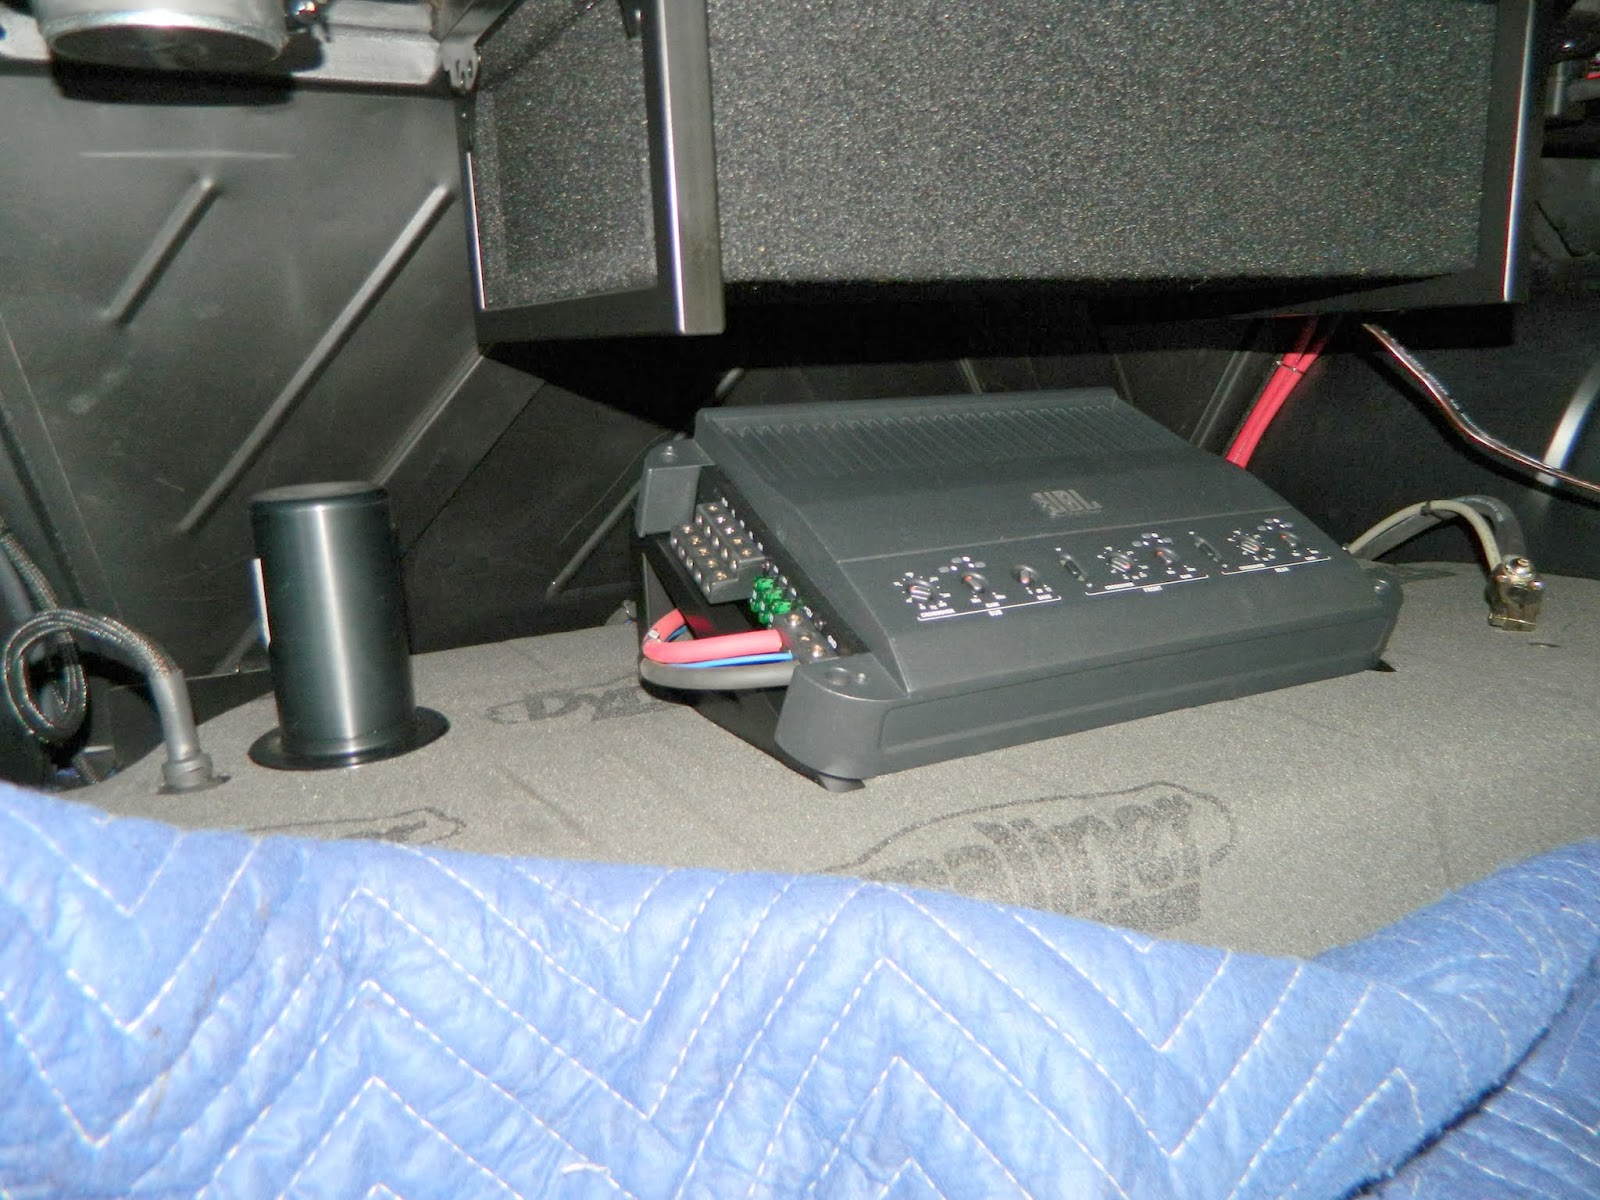
This is the final install of the JBL 5-channel amp. Earlier in the build, this was mocked up so this will just be a recap.
These are the mounting brackets after powder coating.
Amp screws to the brackets.
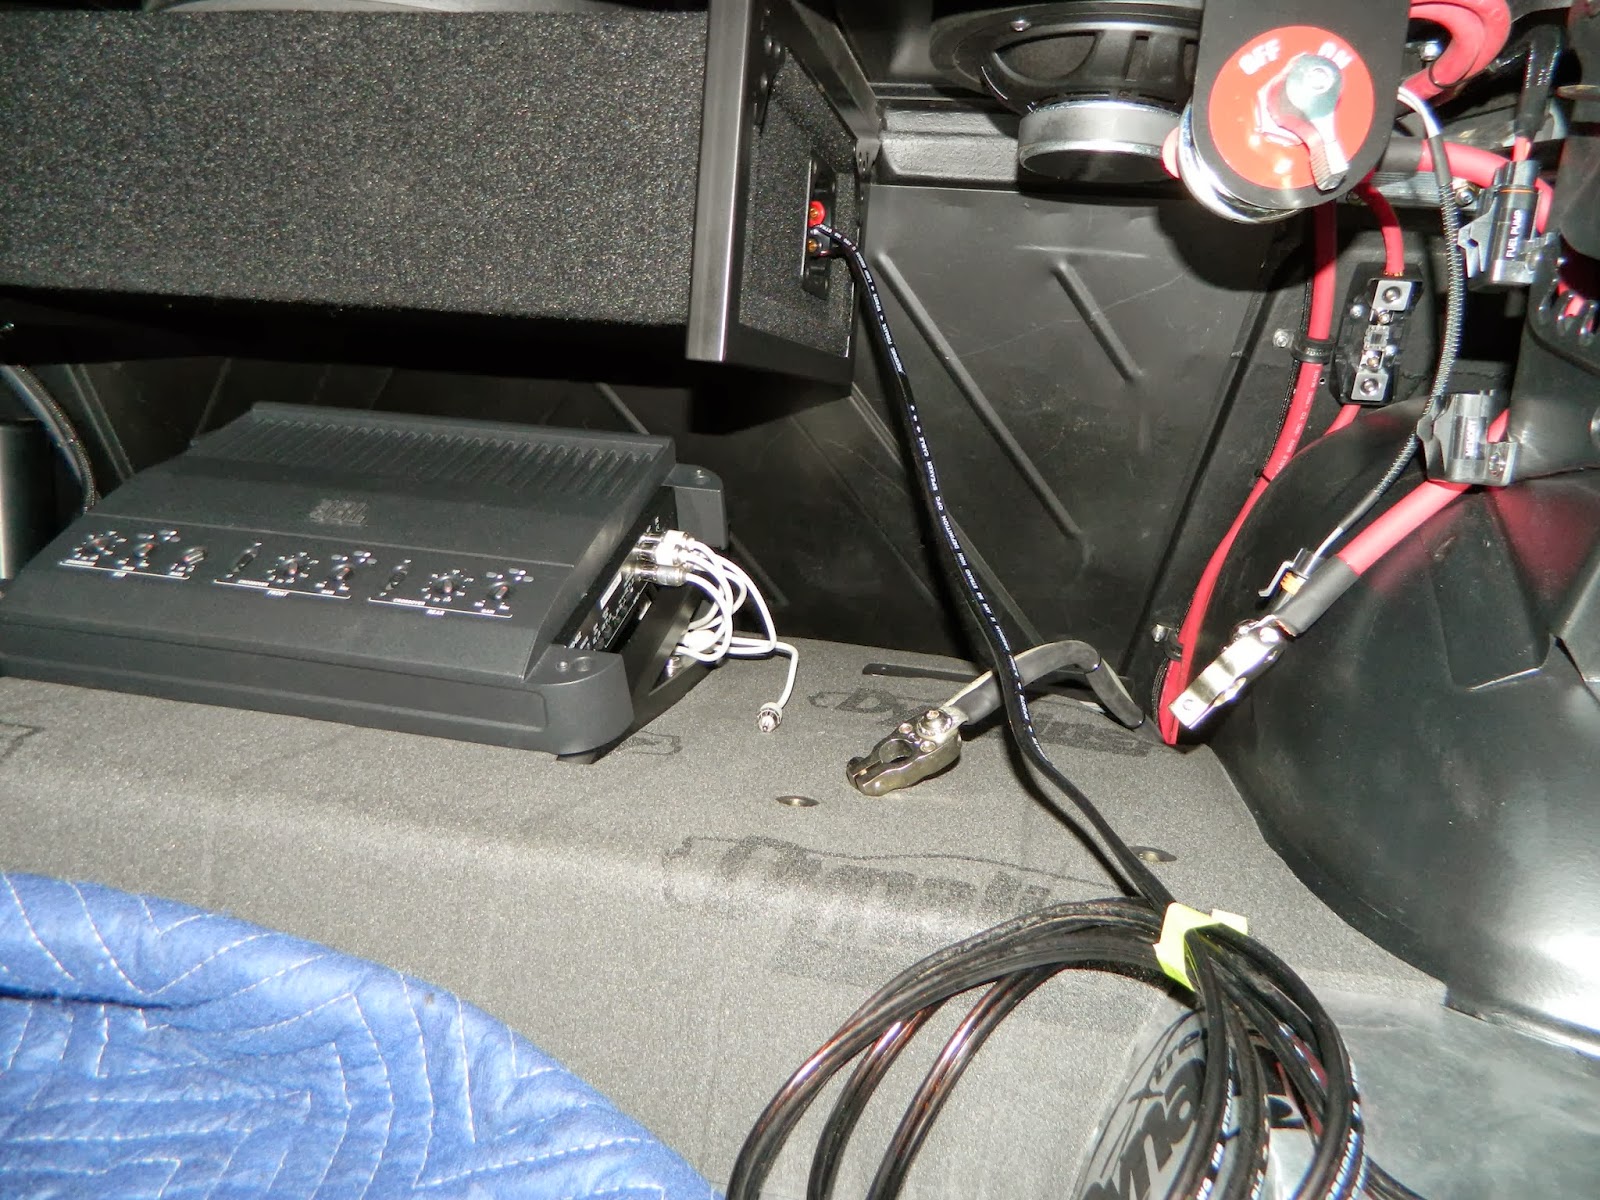
Power leads installed. This comes from the load side of the battery disconnect then through a 90 amp fuse.
RCA's from the head unit. Not shown here are the speaker leads which connect to this side of the amp as well. You can see the amp fuse to the right.
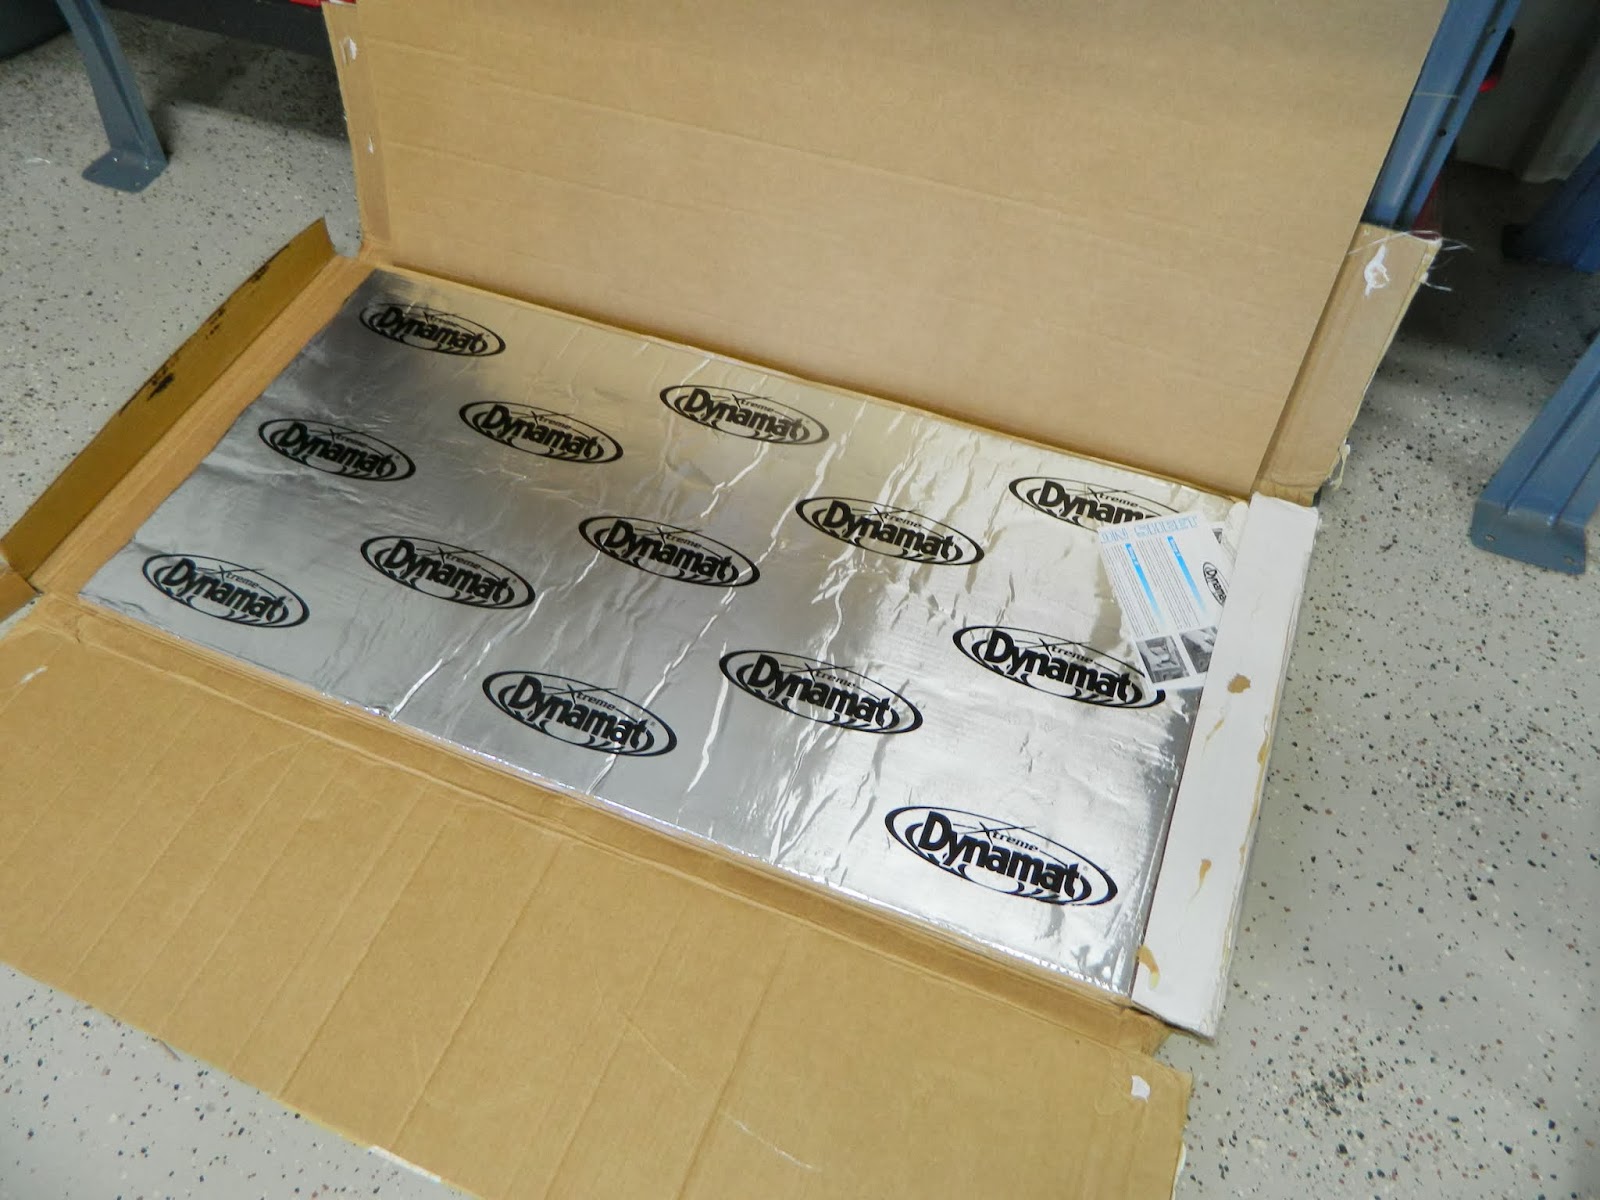
Time to finish up the Dynamat in the trunk area. I had applied the Dynamat to the forward area earlier so I could mount everything that was to go in the shelf area just behind the rear seat. I have found that it is better to buy the bulk packs. The reason is that the sheets are not folded for shipment. When it gets folded, it creates wrinkles and creases that you can't work out. For me (Mr. OCD) that meant a lot went in the trash.
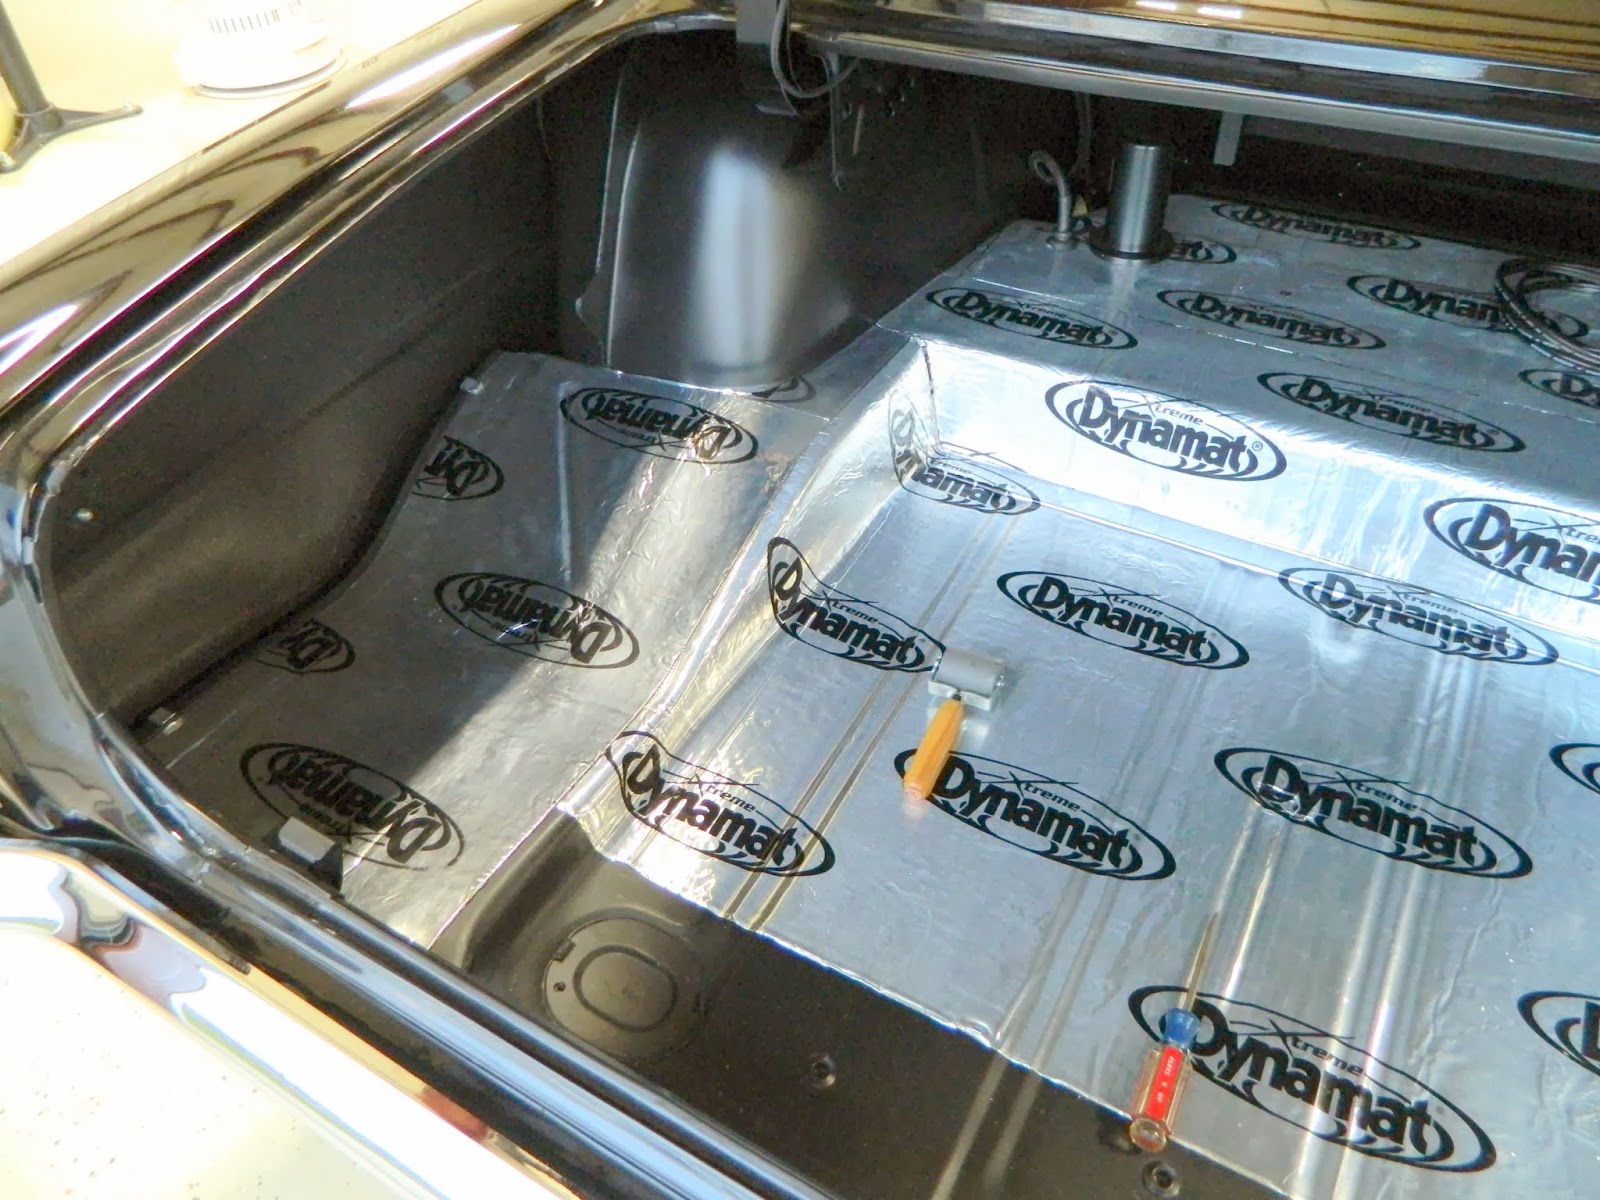
This is the area I did earlier. I will do the rest of the trunk floor to help with road and exhaust noise.
This is a whole sheet. Worked well here since the space is pretty simple. Did not make a template.
Made a template for the side area.
Filling in the rest.
Dynamat Extreme complete.
Next up is 1/4" Dynaliner. This helps with low frequency noise and heat. For now the plan is to cover the shelf area only. There is a plan for the rest of the trunk floor, to be disclosed later......
Made a template as before.
These are the Focal 6 1/2" 2-way rear speakers.
They mount into the rings mounted on the bottom of the package tray. The rings recess the speakers just below the top of the tray.
This is the JL Audio 8" sub.
These are the brackets I made during mock up that will hold the sub in place.
The brackets slide on the ends of the sub enclosure.
I used 1/4" thick neoprene weather stripping to seal the sub to the ring.
The brackets attach to the bars under the package tray.
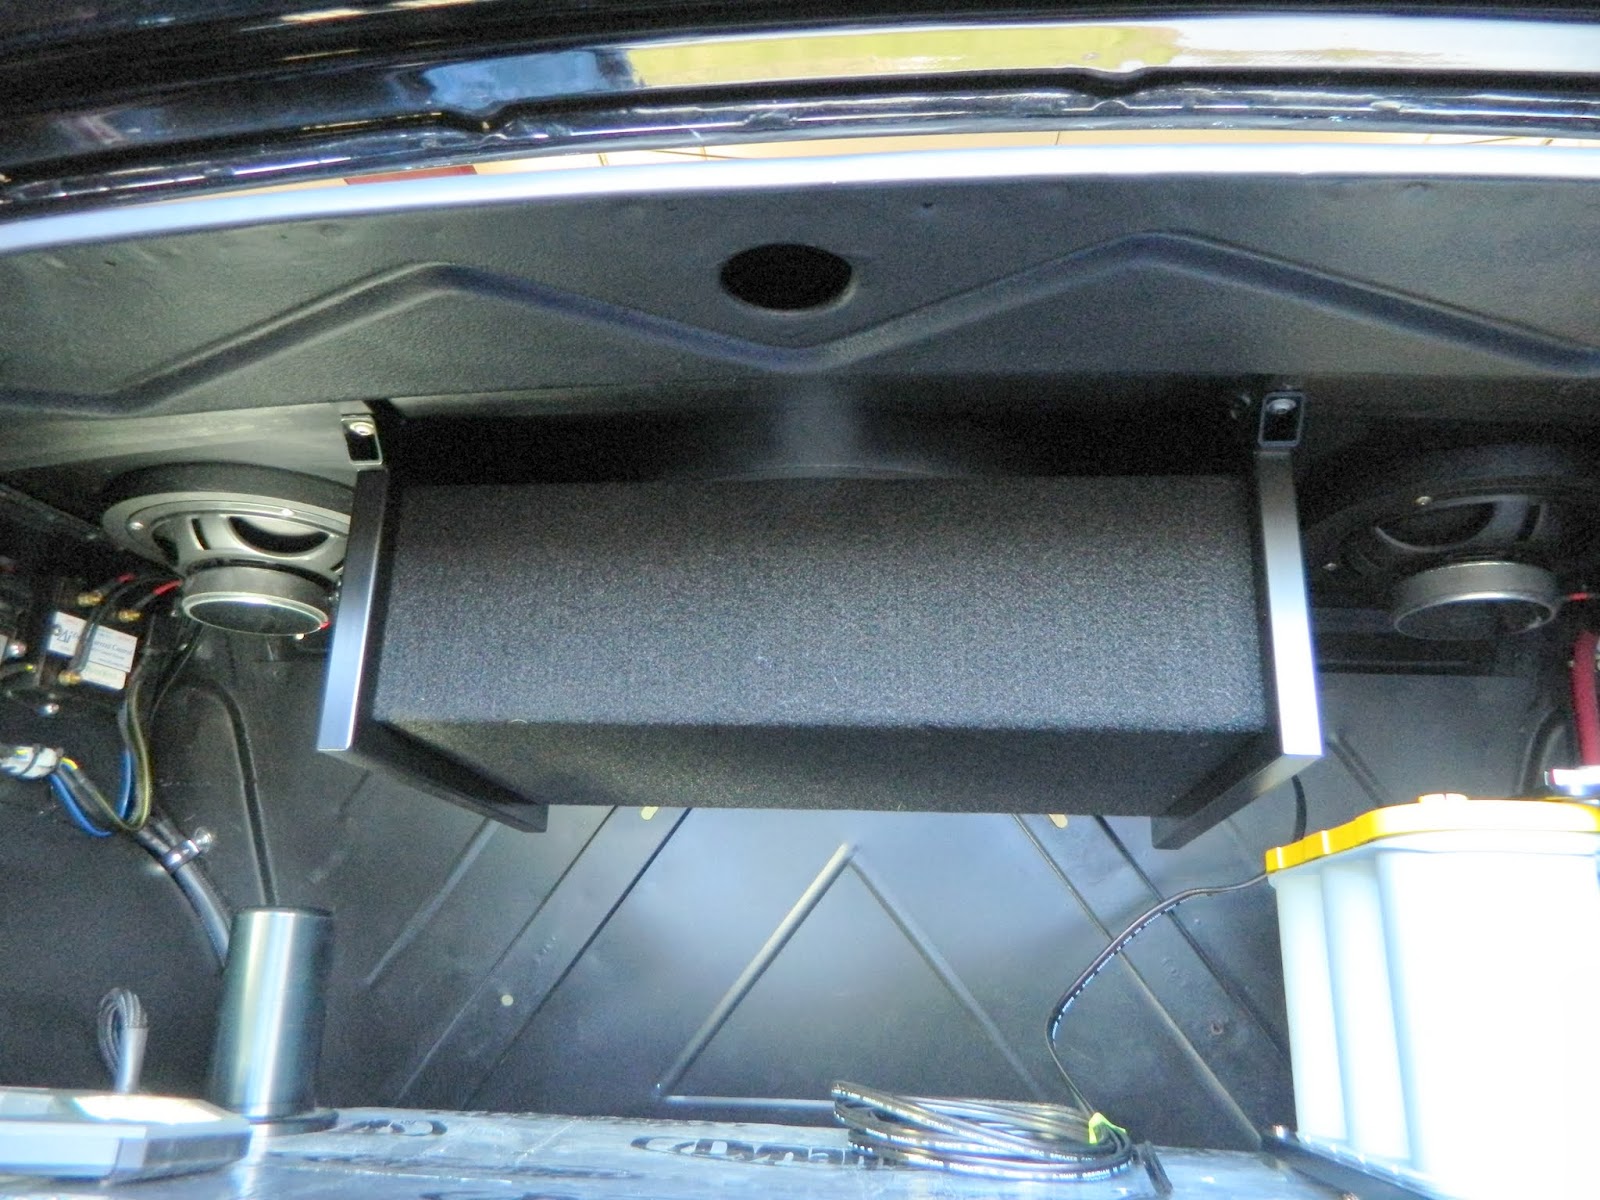
Finished rear speaker/sub installation.
The idea for the package tray was to be able to have a stealthy way to mount the rear speakers and sub.
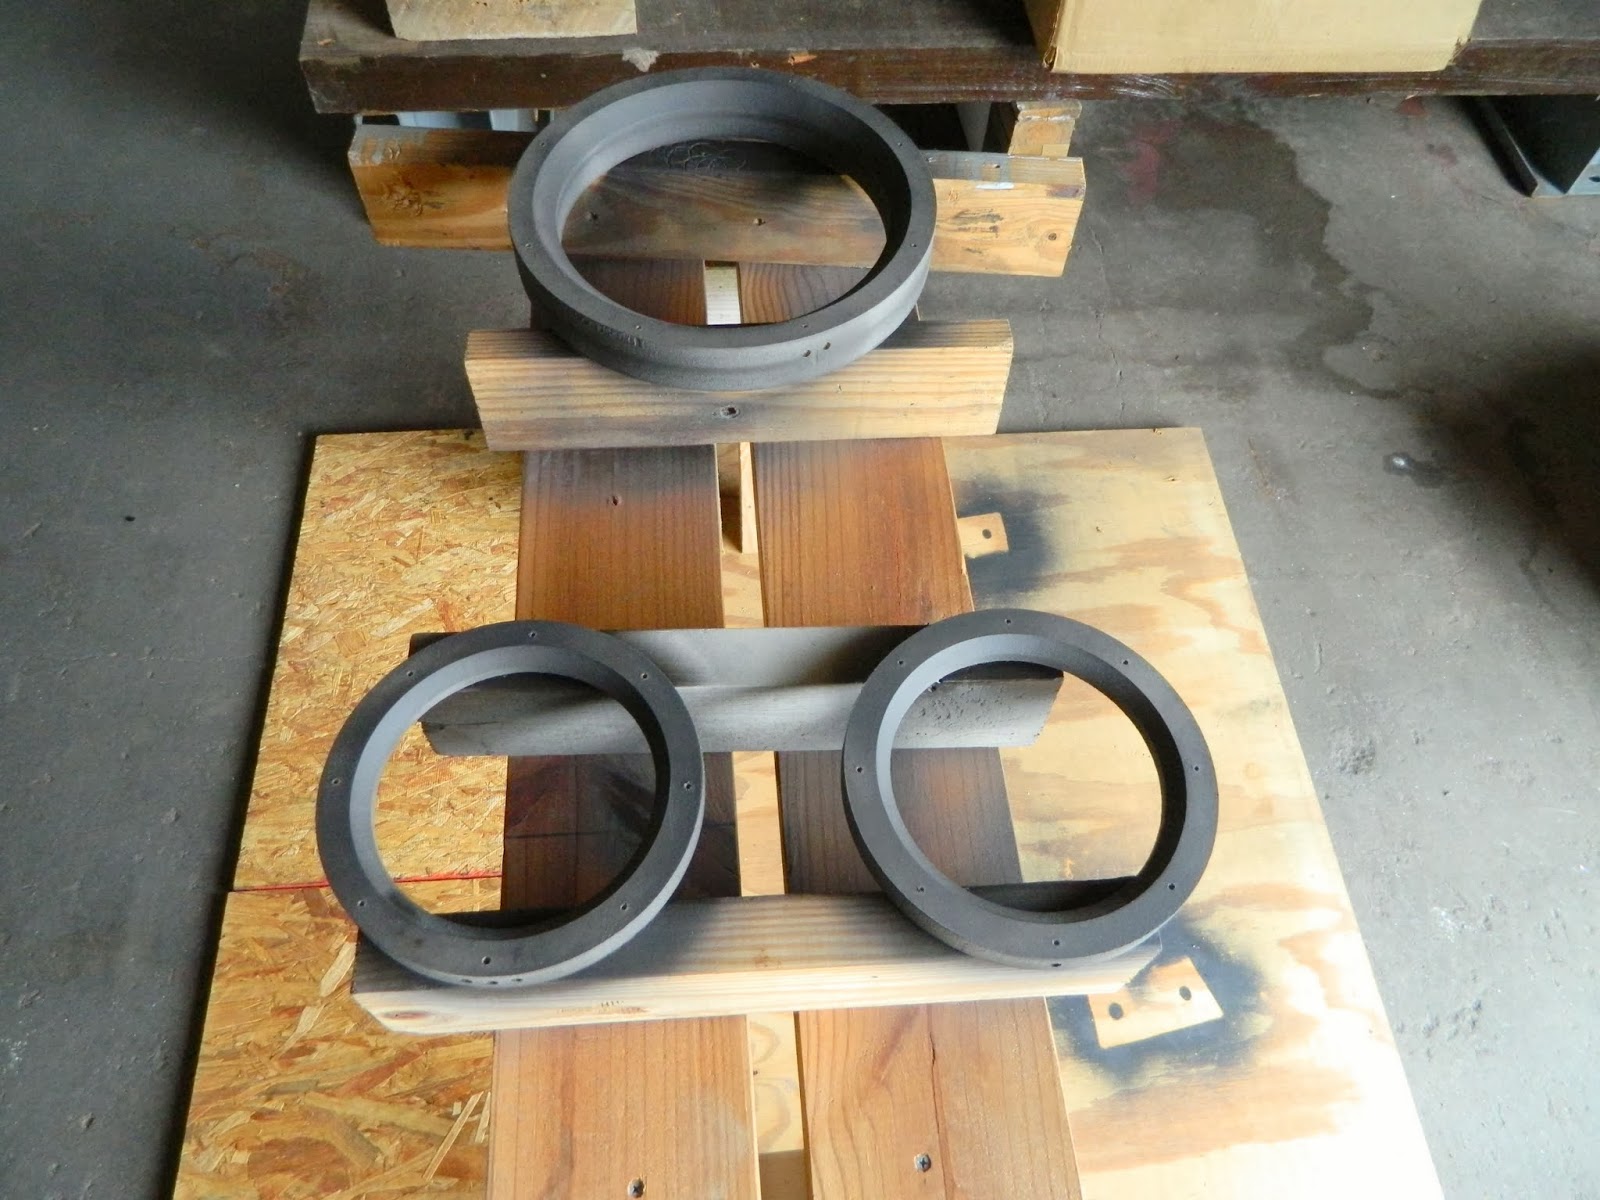
These are the speaker mounting rings that I cut out way back in mock up. They serve to recess the speakers in the package tray so that they are below the top surface. Here I am applying a coat of Z-chrome (sprayable body filler) to the rings to seal and smooth the MDF surfaces.
After drying I sanded them smooth.
Followed with a coat of satin black.
This is the aluminum package tray after powder coating.
I also had the mounting screws powder coated to match the package tray.
Rings installed.
Bottom view.
Next up is the speaker grille cloth covering. This is the heavy variety which is transparent to sound but is pretty much non see through. Hoping that in direct sunlight you will get just a slight glimmer of the silver ring around each speaker opening.
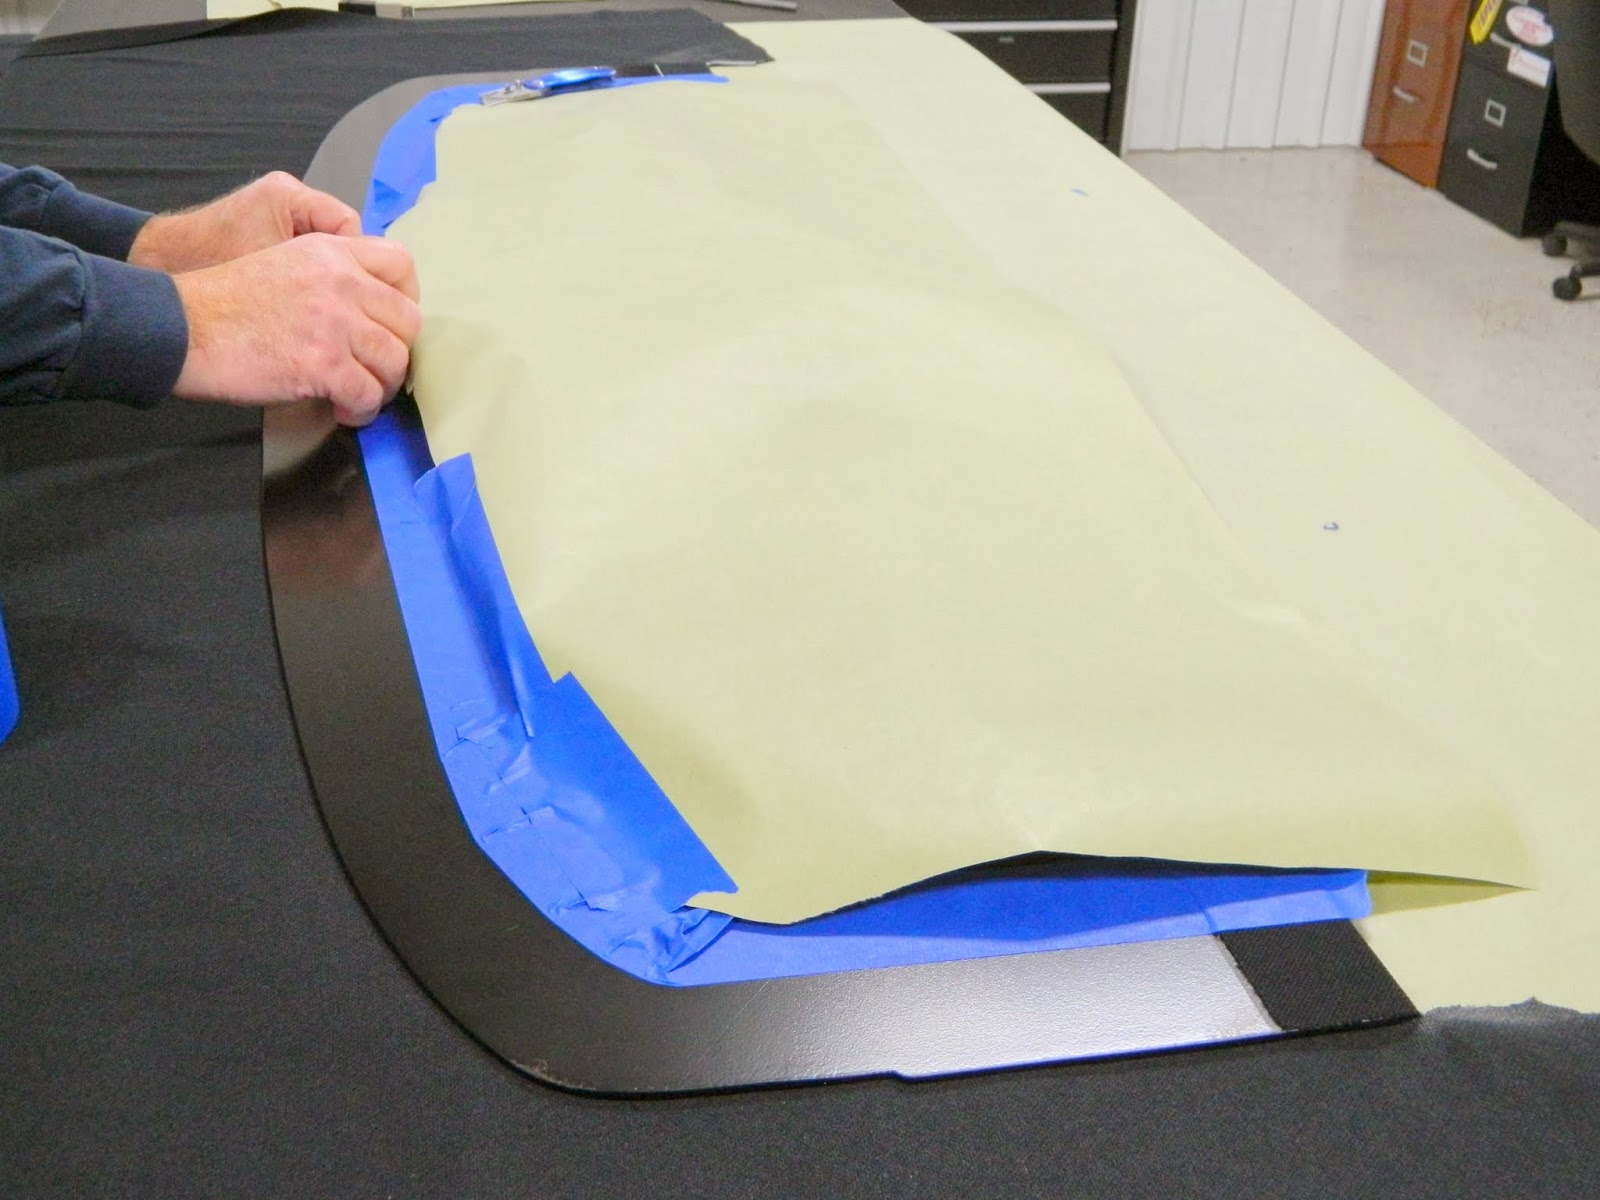
Masking off the portion of the bottom of the tray that I don't want to get the spray adhesive on. Doing the leading edge first.
This is the area that will get the adhesive.
Spray it on them and let it tack up for 5-10 minutes.
Folding the fabric over and smoothing it with a scraper.
Trimmed the cloth and removed the masking.
These studs will hold the tray in place.
Same drill on the other sides.
Pull it tight and fold it over.
Making relief cuts on the round corners.
All trimmed up and ready to install.
Installs in the groove at the rear just like the stock tray.
The studs at the front hold down the front edge. The nuts are installed from the trunk side.
All done! Speakers will be next.
Pretty stealthy! I like my tunes, just don't like having it look like I am still in my twenties! LOL.
Bottom view.