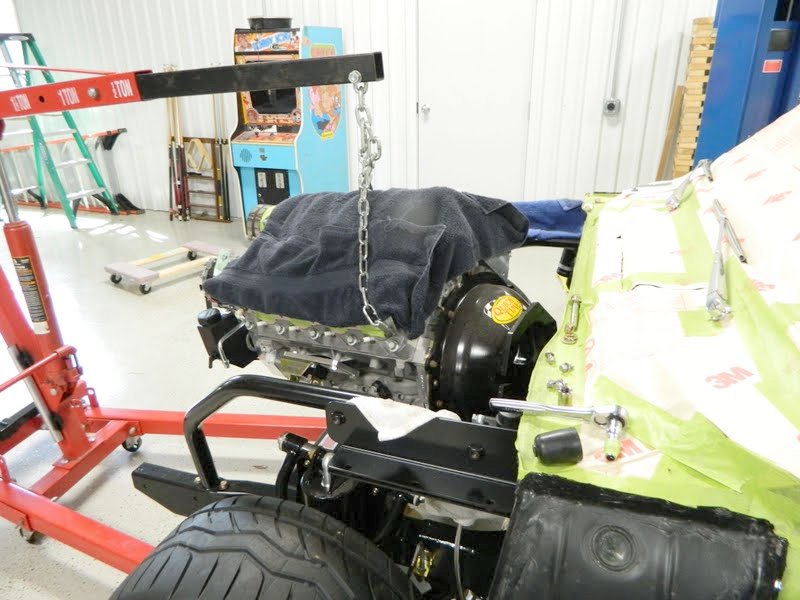
This post will cover the fabrication of the brake lines. As with the fuel lines, I sourced the tubing from Inline Tube. I actually bought the kit they have for $125 which included almost everything I needed for less than the sum of the individual parts. In addition I bought the following to supplement the kit; (1) 3/16 union, (1) 3/16 tee, (1) extra package of clamps and 15' of extra spring wrap. These lines will utilize double 45 degree flares. Everything is stainless. I used two different benders, one was a tight radius for some of the bends that were in tight spaces.
I started at the rear end and worked to the front. Here I was mocking up the mounting for the tee/rear flex line using poster board as a template.
Mounting bracket formed up from 14 ga. steel. The stud is welded to the bracket from the back side then ground flush.
First line from the tee to the LH rear caliper. In this pic I had already bent the line per a solid wire template and installed the spring wrap. Then performing the final flare operation. I used an Eastwood turret style double flaring tool. This tool is worth the money as the results are professional and inspire confidence! Brakes are not a place to skimp!
Finished double flare.
Finished line.
Next up the RH line from the caliper to the tee.
Flaring the RH line.
RH line installed.
This is the beginning of the rear to front line. It will mimic the same path that I used on the fuel line on the passenger side.
From the rear along the subframe connector to the front.
This is the formed line without the spring wrap or the final fitting installed. It terminates a few inches from the front. There will be a union located there to connect to the front portion that will run to the proportioning valve located below the master cylinder. The spring wrap and final flare fitting were installed once I verified exactly where the union needed to be located.
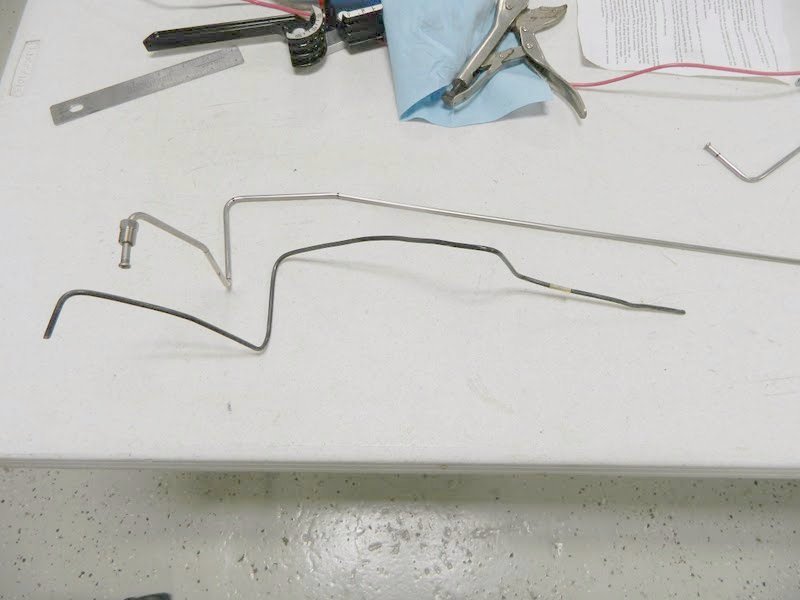
This is the front line to the prop valve. In the picture you can see the wire template that I used to fabricate the actual line.
Flaring the front line.
Beautiful flares!
Finished front line next to the templates.
Rear portion of the front line attached to the union.
Front portion of the front line attached to the prop valve.
U shaped line between the master cylinder and the prop valve.
Beginning of the line from the master cylinder to the tee for the front calipers.
The line runs from the master cylinder back to the firewall on the same path as the rear line for aesthetic reasons. Then back towards the front along the frame. At the Tee a short 90 degree bent to connect to the left front caliper flex line. From there the line drops to the inside of the frame to the RH side.
Adding the spring wrap.
Connection to the RH caliper.
Finished lines.