Friday, February 28, 2014

Alignment, Charge A/C & Install Rear Panel Molding (February 15, 2014)


Today we took the car just down the road to a neighbor's auto shop to charge the a/c, get an alignment and a state inspection.

Pretty cool shots of the first miles pulling out of our place.


Finally on the road!  Such a cool feeling. She sounds awesome !!


At the neighbor's shop getting the a/c evacuated. She held a vacuum for 30 minutes without any loss. I am really impressed with the Aerquip EZ-Clip hoses. Then he added 1.8 lbs. of refrigerant. Everything works just as it should. The Dakota Digital climate control is fantastic.


Next up is the alignment. I used the DSE specs.
Thanks to Bruce at Booth Automotive.  He treated her like a queen!


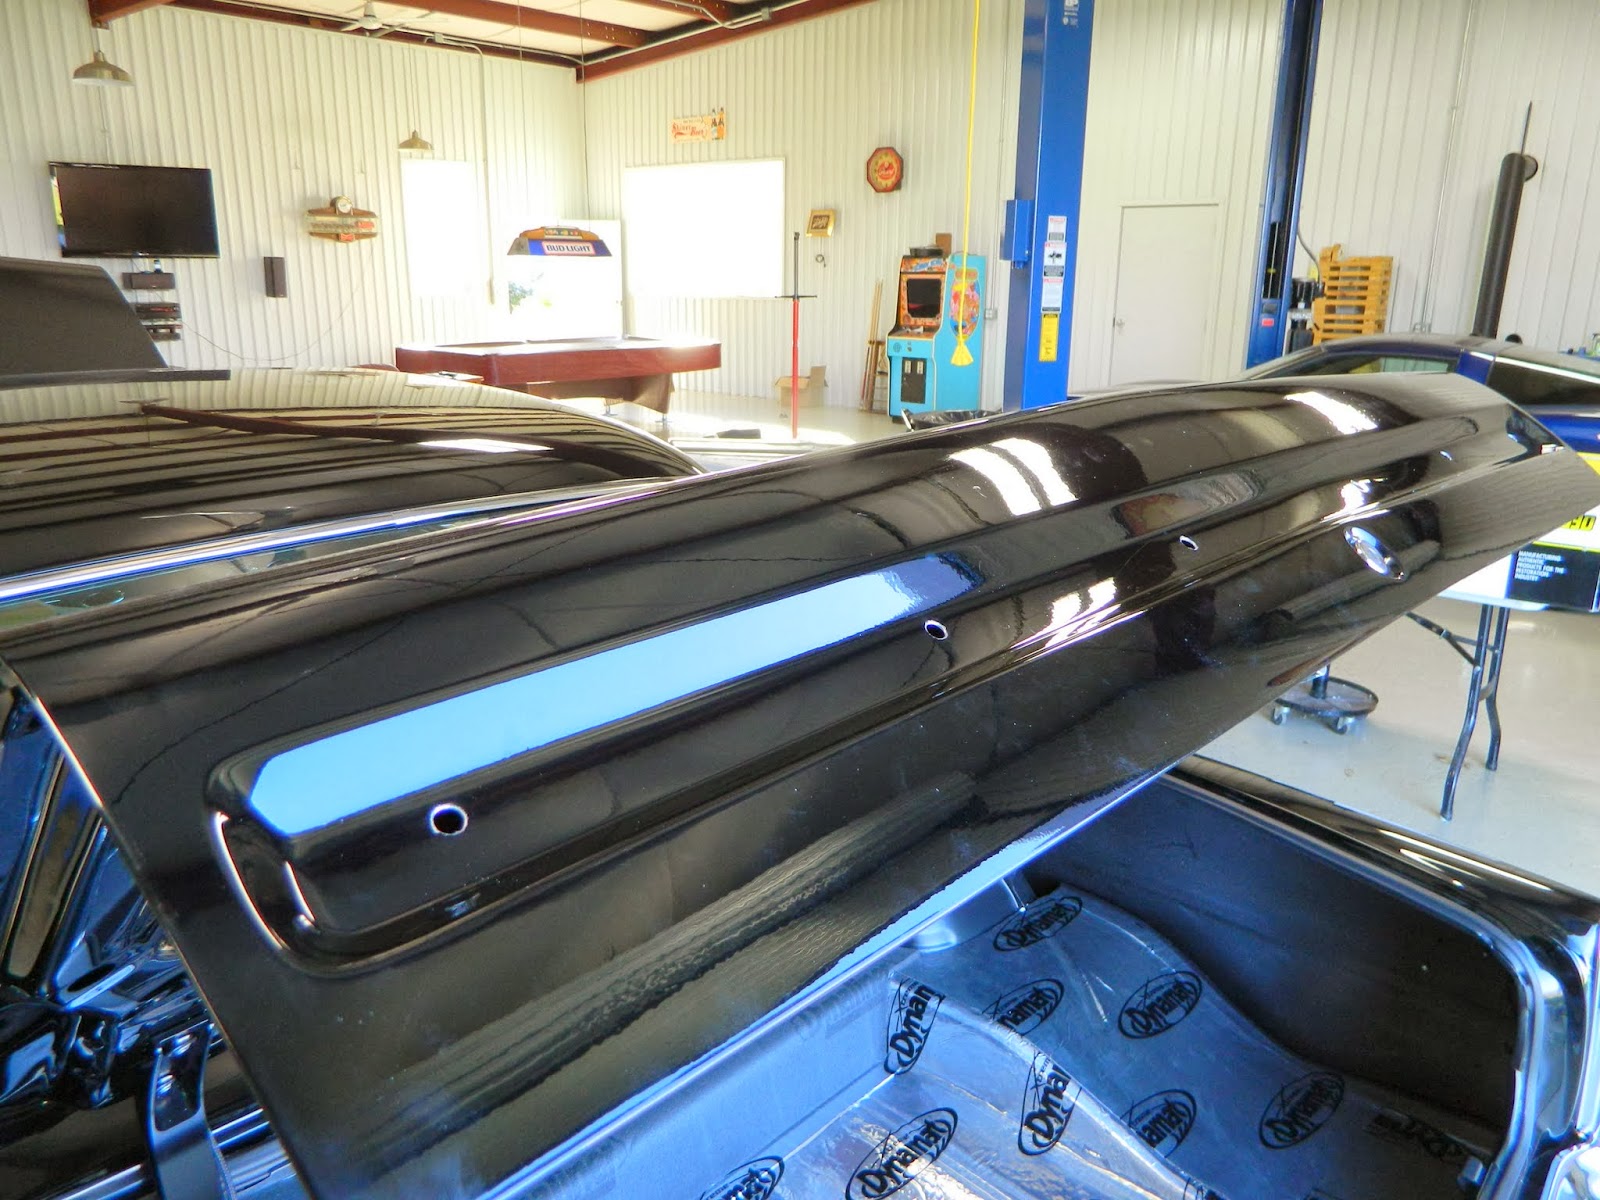
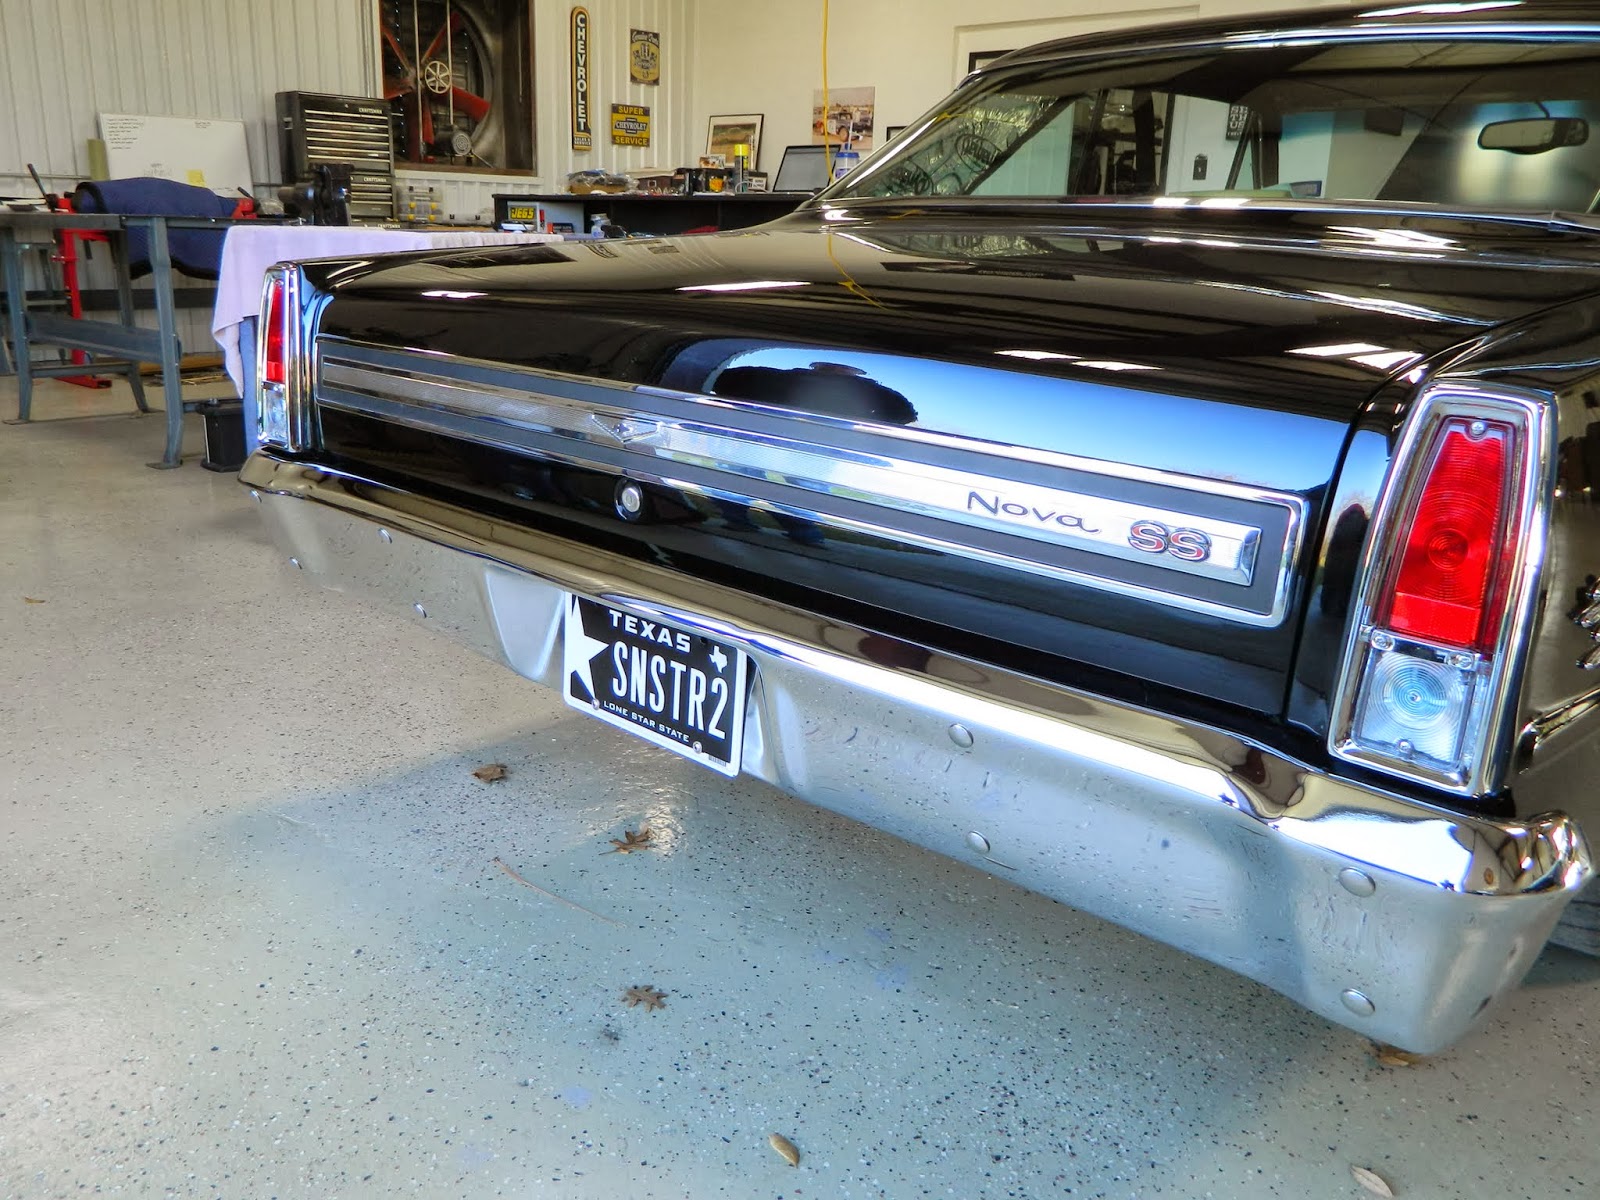
Back at our place now. At this point I think that the "re-creation," our modern day SS interpretation, is deserving of the last piece of SS trim. Kind of an iconic piece of "auto jewelry." I found this at GTL (a SNS supporting vendor). George is a great guy to work with. If you have ever looked, you know that this part is not reproduced yet (even though it is in the Classic Industries catalog). And there just aren't many around. I was very fortunate to locate this one!


Drilled the deck lid. Then painted the holes to keep the rust away!


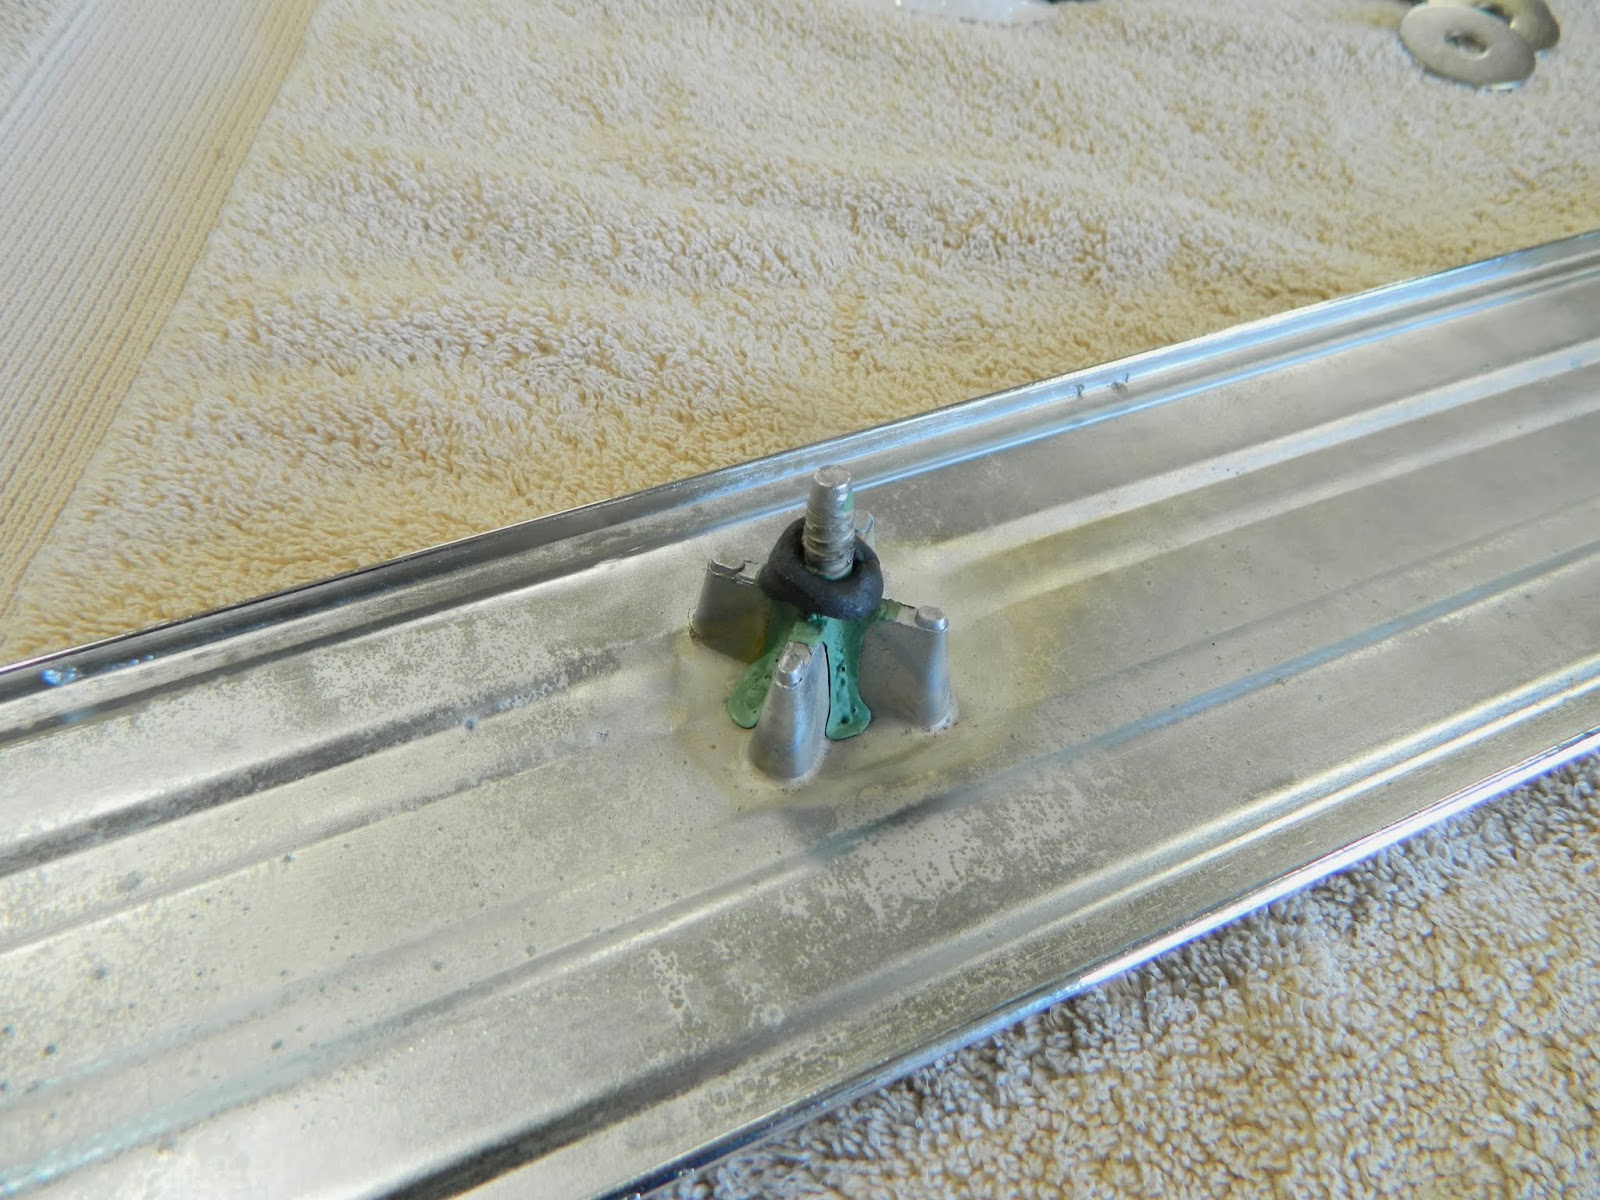
Then I used some strip sealer on the studs. Reminds me of play-doh!


At this point, most all of my work is done. There will be the mandatory tweaking that goes with any build. Tomorrow she goes to get her interior. That will be a 56 mile drive...a bit of time to get "acquainted." 

Thursday, February 20, 2014

Final Assembly - Seat Belts & Rear View Mirror (February 13 - 14, 2014)


The rear seat belts are the OEM units. Most likely they will spend the rest of their life under the seat (my kids are grown and if either of them wants a ride they will insist on shotgun, since neither of them is "certified" for domestic horsepower. LOL).


The front belts are from Morris Classic concepts. They installed perfectly. The only mod I made was to re-stack the mounting brackets to move the unit outboard from the seat about 1/8" to clear the lumbar adjustment on the Cerullo seats. A side note: I broke one of the clamshell covers that goes at the roof mount. I contacted Billy Morris and he gladly sent me a replacement @ n/c. Great guy to work with.


This is a Gentex 226 rear view mirror we picked up on ebay for $35. It is auto dimming and has map and courtesy lamps (LED). You can get these with a compass and thermometer as well.


Mounting the "puck" to the windshield.


Made my own harness which runs across the top of the windshield and down the driver's side A pillar. The connections are: sw. ignition, battery, courtesy gnd. and chassis gnd.


Trunk Weatherstripping (February 12, 2014)


Nothing tricky here. Again I used SoffSeal weatherstripping.

Applied with 3M weatherstripping adhesive.


Used some masking tape to hold the corners in place to dry overnight.


After drying overnight (with the trunk closed)


Final Assembly - Console & Seat Mounts (February 8 - 9, 2014)


Just a couple more simple things to go in. At this point all of this is pretty much "bolt in" (thank goodness!!)

Console


Driver's side seat and passenger side seat mount (the seat is with the upholstery shop).


A quick application of Dynamat to the sail panels.


Sunday, February 16, 2014

Amp & Speaker Wiring (February 5, 2014)


I won't go into a lot of detail on this, just basic audio wiring.

I put the RCA's in some power braid along with the amp turn on wire.


Starts up front the goes across the dash to the passenger kick panel area.


Then down through a hole into the channel along the door sill area.


To the rear - I slipped some aluminized DEI sleeve over the power braid where it runs across the battery cables to act as an EMI shield as not to pick up any noise from the charging circuit.


Then up to the amp. This side is the power and speaker connection points.


This side is the RCA pre-amp connections.


Just a test of the front driver's. They will be mounted in the kick panels by the upholstery shop.


Floor Dynamat (January 25 - February 4, 2014)


Nothing to complicated here. Installing the Dynamat Xtreme to the floor and rear seat bulkhead. I like to use paper to make templates then transfer to the dynamat. For me that is a lot cleaner than trying to wrestle and trim this stuff in place. Started at the rear. Get yourself a couple of inexpensive moving blankets. Much nicer than the hard floor with all kinds of things protruding that you don't want poking you! Plus you don't want to put your knees and elbows on the finished work. It will leave dents!


I was a couple of pieces short so I had to get more. The new stuff is black.... not a problem as it will all be covered with Dynaliner.


1/4" Dynaliner. Same process, but this stuff stretches and molds a lot easier than the Dynamat! Just to do my own unscientific testing, I fired up the engine after the dynamite went in, a definite improvement over bare floors. And again after the Dynaliner, a dramatic difference!


Total install time for both the Dynamat and the Dynaliner = 24 hours