I am building a bulk head to separate the trunk area from the passenger compartment, mainly to help with road noise. I started by welding a piece of 3/4" square tube across the lower side of the "A" shaped opening between the rear package tray/rear seat supports. This will be the attachment point for the lower side of the center closure plate.

Next I made poster board templates of each of the openings.

Then I traced them on to 16 ga. sheet metal. I used a shear to cut these out for clean straight edges.

Test fitting each piece.


I formed up a closure plate for the portion between the square tube and the trunk drop off. This will be screw removable for wiring access.


Once I was happy with the fit of each piece, I added some beads to stiffen up the filler plates and give them a bit of detail.


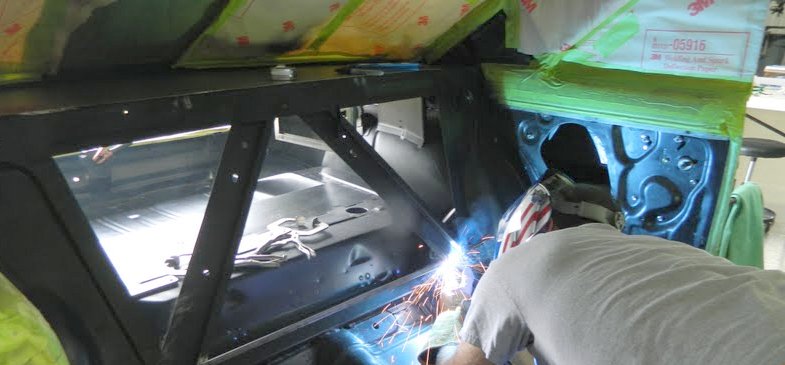
Cleaning the surfaces of paint to prep for welding. These will be plug welds.


Then I used a pneumatic punch to make the holes for the plug welds.

The center panel needed holes at the bottom to weld to the square tube support.

Plug welding the panels in place. The panels go in behind the rear seat braces. The bottom edge of the center panel lays on top of the lower brace (square tube).


Panels welded in prior to grinding the plug welds. The silver you see around the edges is weld-thru primer.

Grinding the plug welds flush.

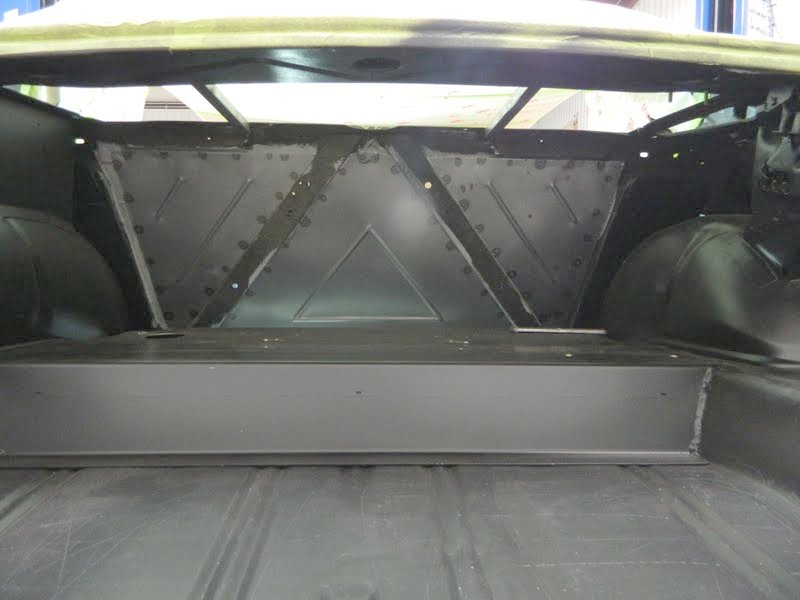
Finished panels.

View from the trunk side.
Drilling the filler panel for screw holes.

I slotted the rear side so that the screws that are in the trunk can be left in place and will just need to be loosened a bit to remove the panel. Those screws are threaded into the DSE brace for the upper control arm mounts.

This is the opening without the filler panel in place (viewed from the trunk).

Filler panel slides in over the screws I mentioned above.

Then attaches from the cabin side with 3 screws into the square tube brace at the bottom of the center panel.

View from the trunk with the filler panel in place.

No comments:
Post a Comment