Originally I had trimmed the driver side factory hinge to get clearance on the DSE inner fender well. Wasn't all that satisfied with the final result. Ran across a smoking deal on a set of Fesler black anodized set of hinges. That meant creating a small relief pocket in the fender well. Used the factory hinge to mark where I needed to cut. The bummer is that everything was already painted....

Removed the hinge and drilled a couple of starter holes.


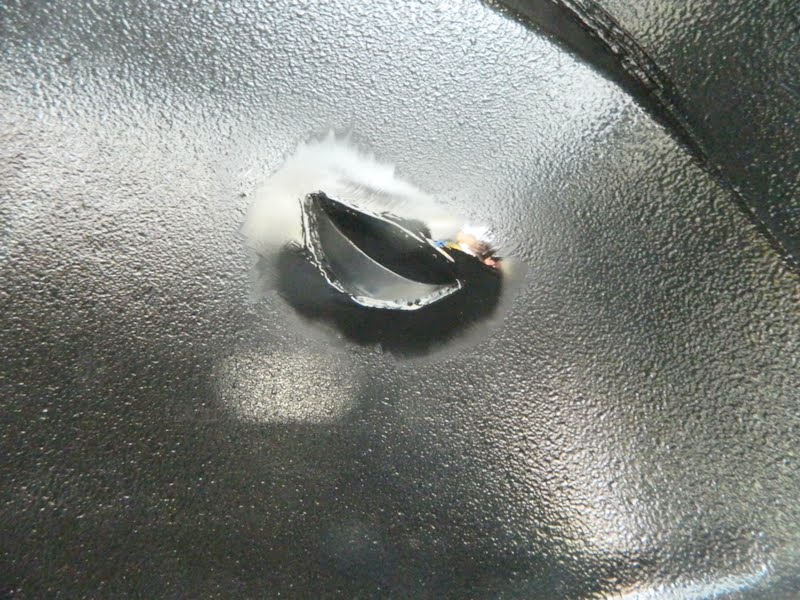
Used the air saw to cut.


Rough cut out.

Test fit with the new hinge wrapped in tape.


Forming up the filler with my hi-tech bending tool !

Looks good. Marked the inner edge.

Quick trim with tin shears.

Mocked in place.

Checking clearance to the fuel filler tube. All good!

Top view.

Tacked in place. (view from bottom)

Grinding down the welds.


Close out piece tacked in place. (view from bottom)

Welding in place.

More grinding...


Shot of DP-90LF.
Now need to finish dressing the trunk side.

More DP90LF.

A little filler on the bottom side to smooth out the welds.


Same on the inside.

A pain to sand !!

Coat of glazing putty.

Sanded smooth.

And more DP......

Touching up the bed liner material.


Wet sanded with 400 grit.

Repainted the inner fender with the 2 part Eastwood 2K Underhood Black.


Mounting the strut brackets to the rear seat brace/package tray. It uses two existing holes on the seat back and you drill one on the top (to each bracket).

Installing the gas strut.

The Fesler hinges are really nice and well thought out. They operate smoothly and hold the trunk lid well.


No comments:
Post a Comment